


What is Netlify?
Netlify is a web developer platform that multiplies productivity. It enables a 10x faster path to much more performant, secure, and scalable websites and apps.
Setting up Netlify:
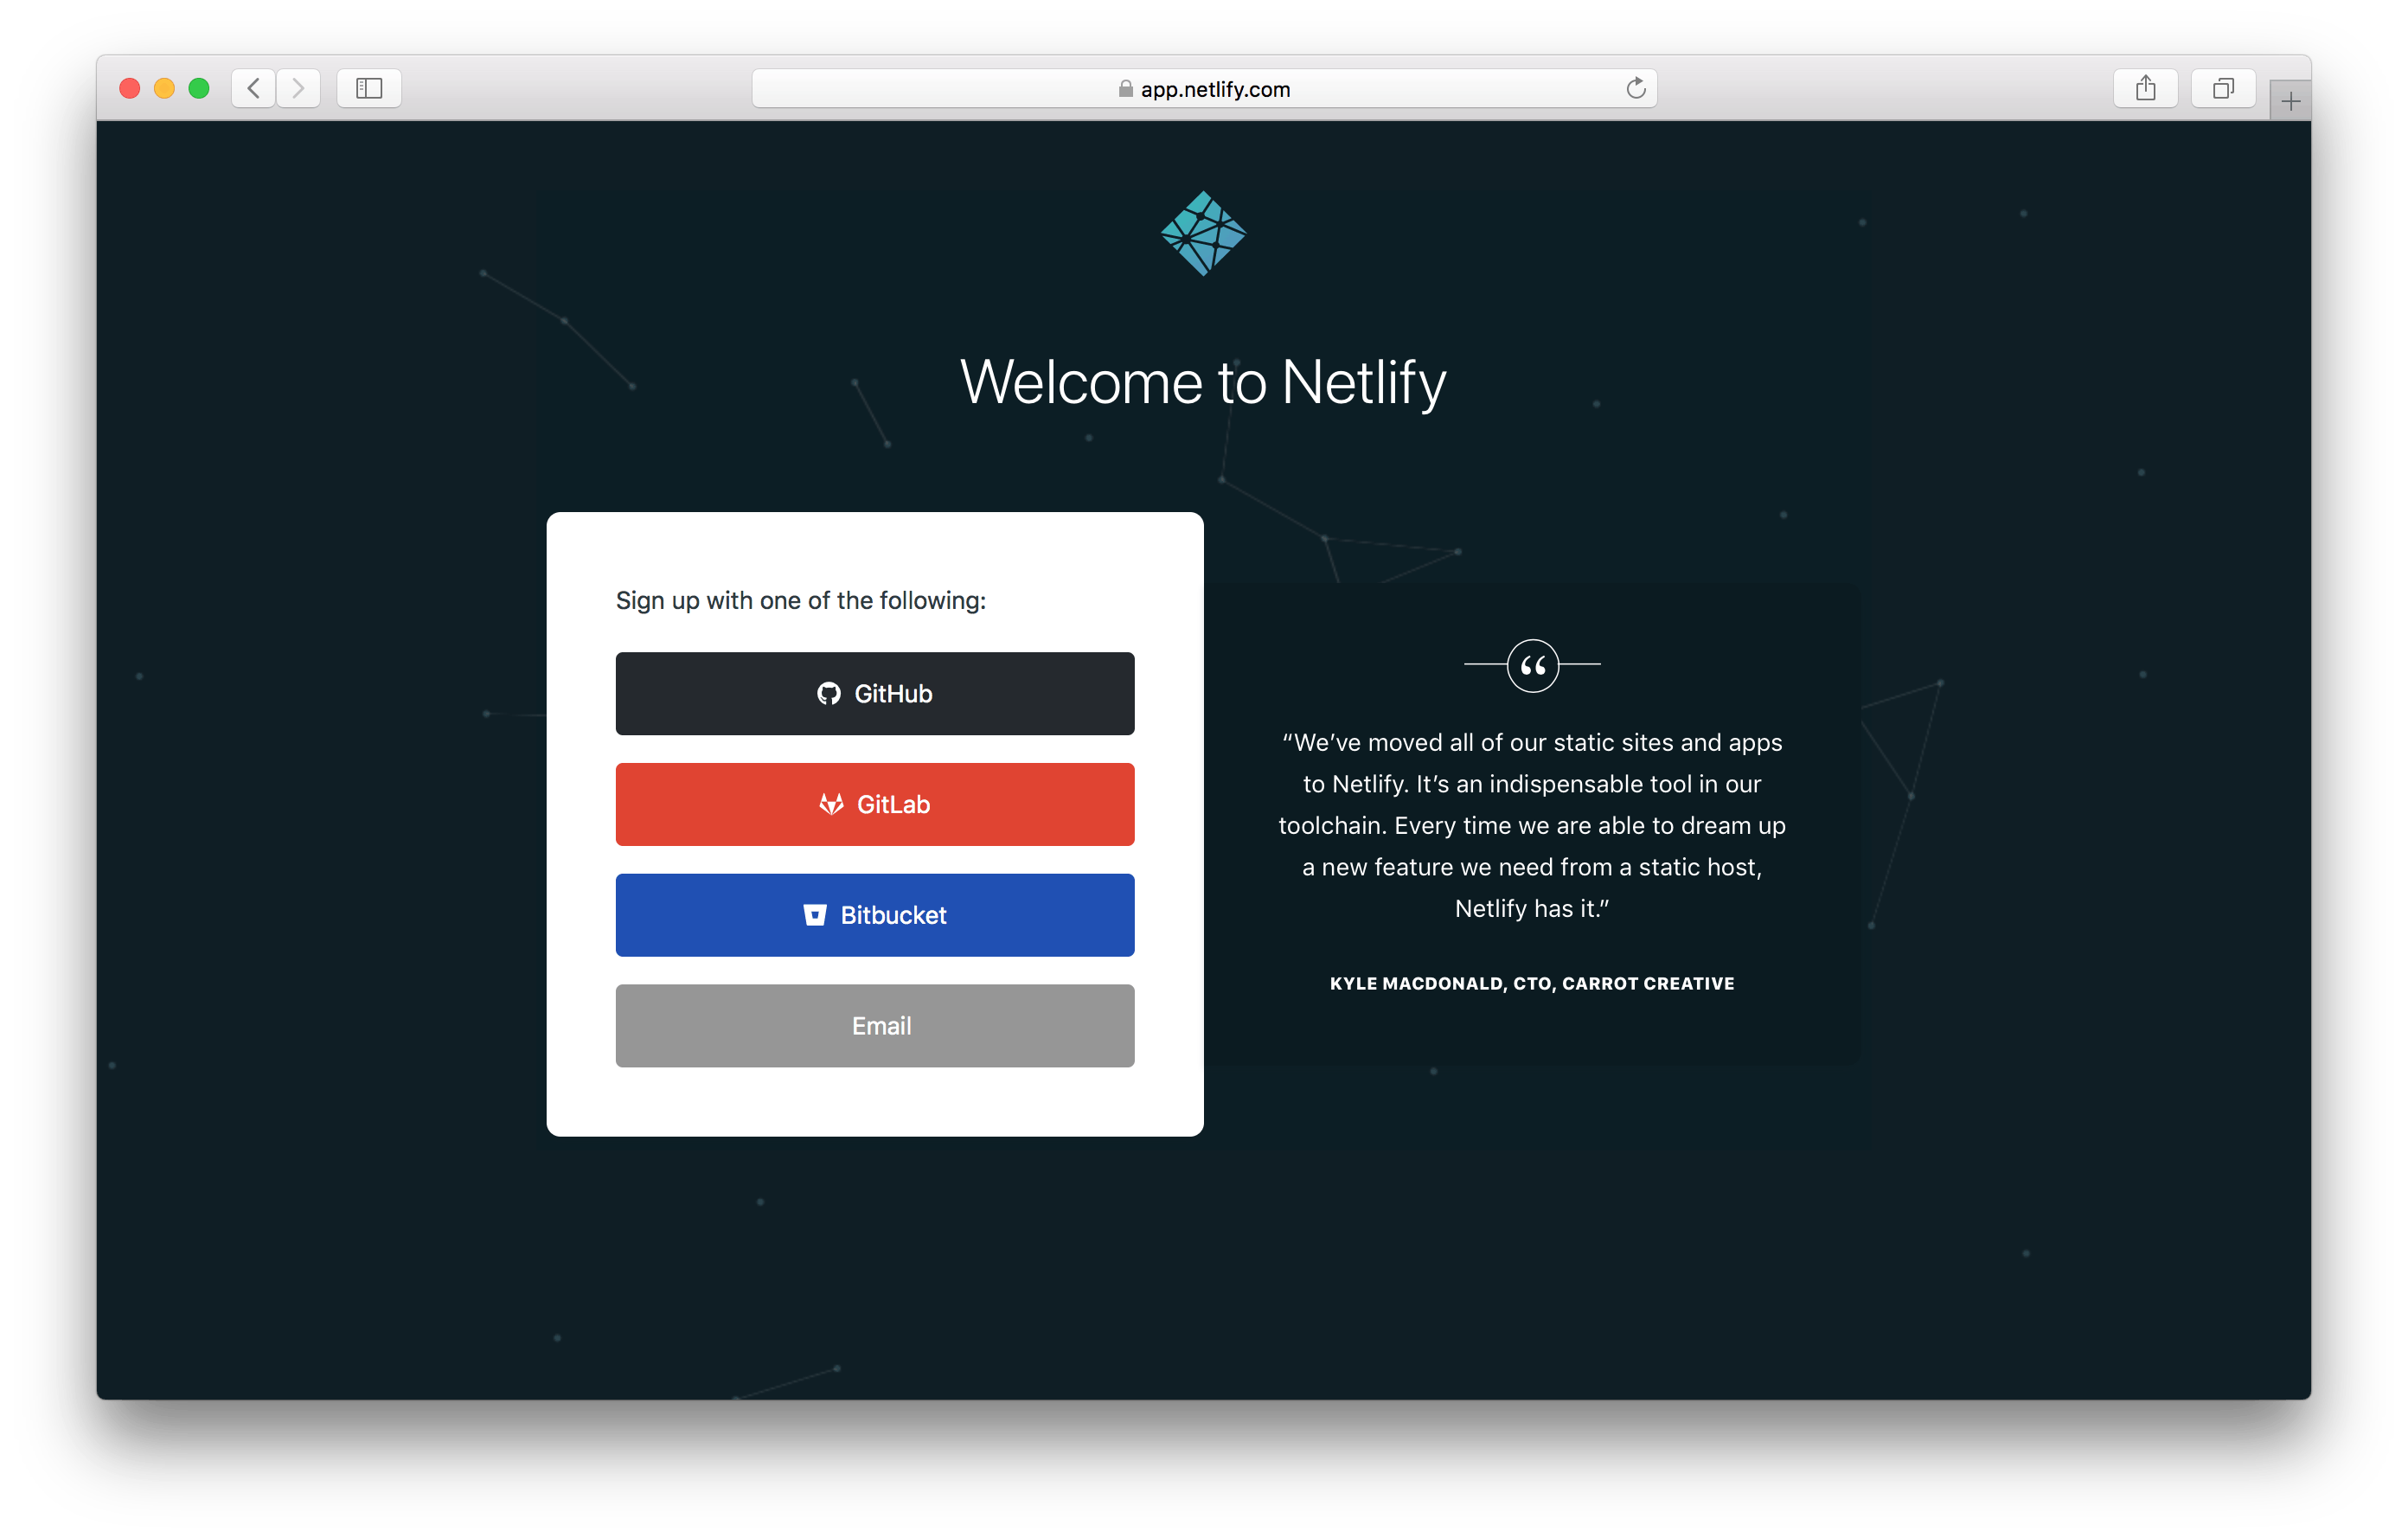
If you are not an existing user click on sign up , register with email or Github, complete the authentication and you will get into Netlify landing page. else just login with registered account and you will get into Netlify landing page.
Adding project and linking GitHub:
click on add "New site from Git" button, this gives a pop-up showing "Be sure to push your repository to GitHub" (If you've logged in through Email Id, be sure to link GitHub account to Netlify).

Then you'll get the pop-up, click on "GitHub" button that will be displayed on the screen and you are done with the linking process.
Authorization of Netlify and selecting of Repository:
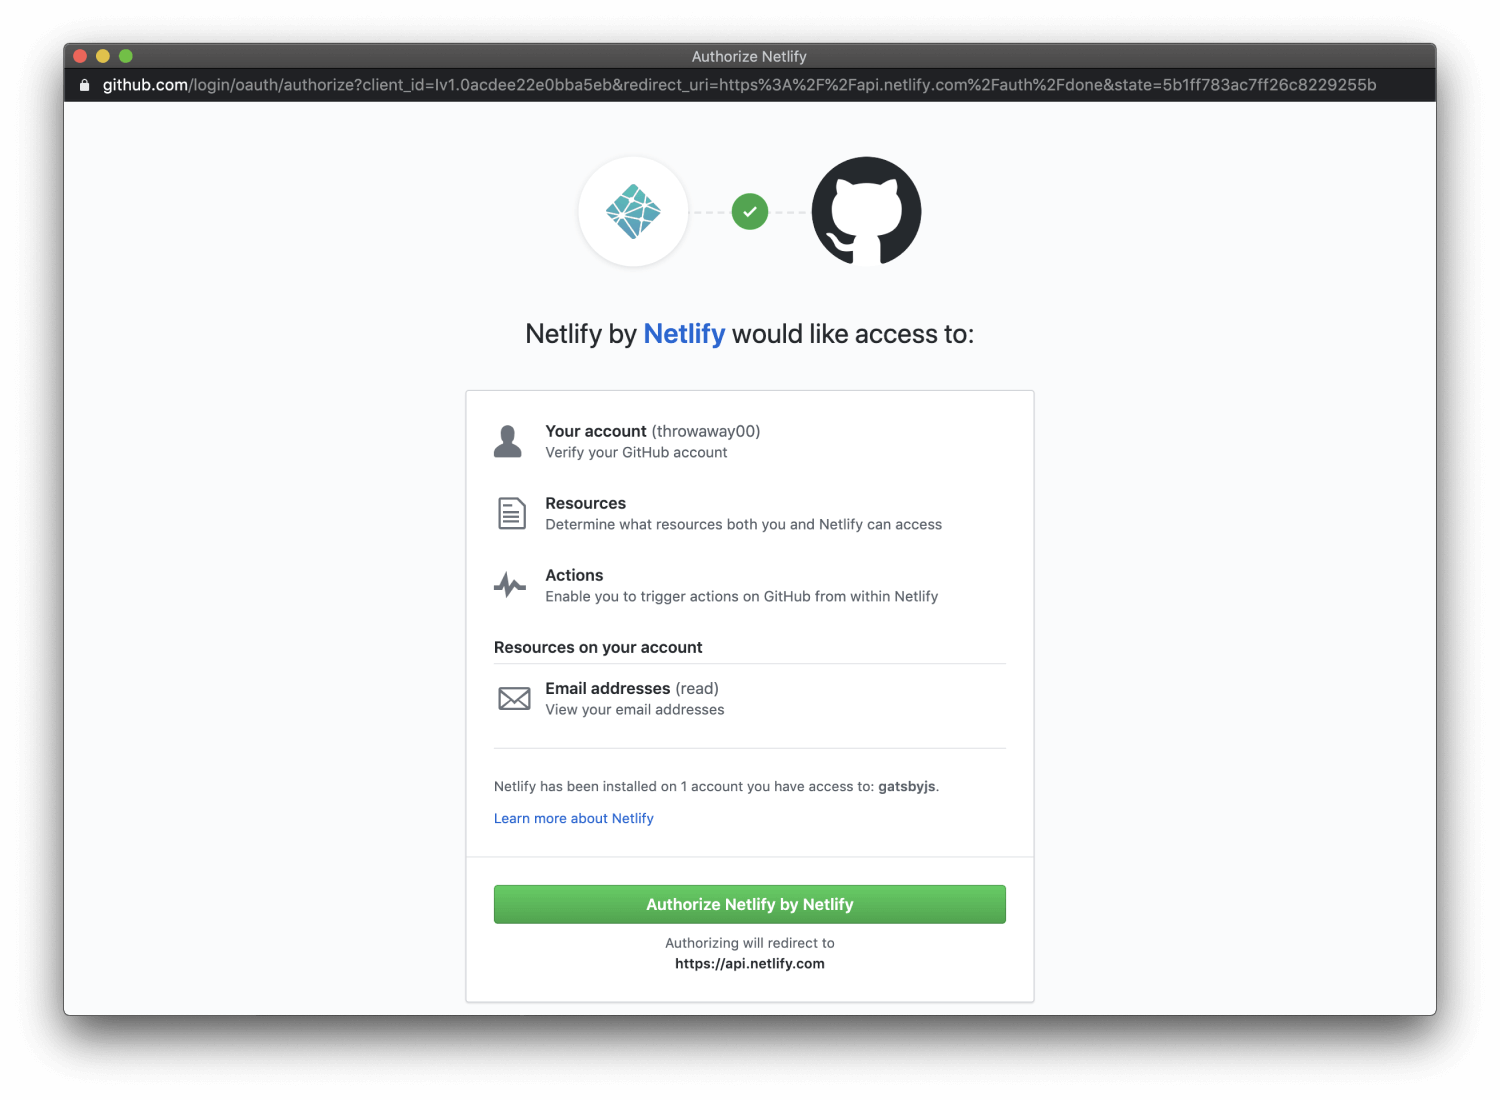
Now we have to let Netlify and GitHub to interact with each other by clicking on "Authorize application" Button. If you want to know more about permission request and more information, you can read on Git provider permissions.
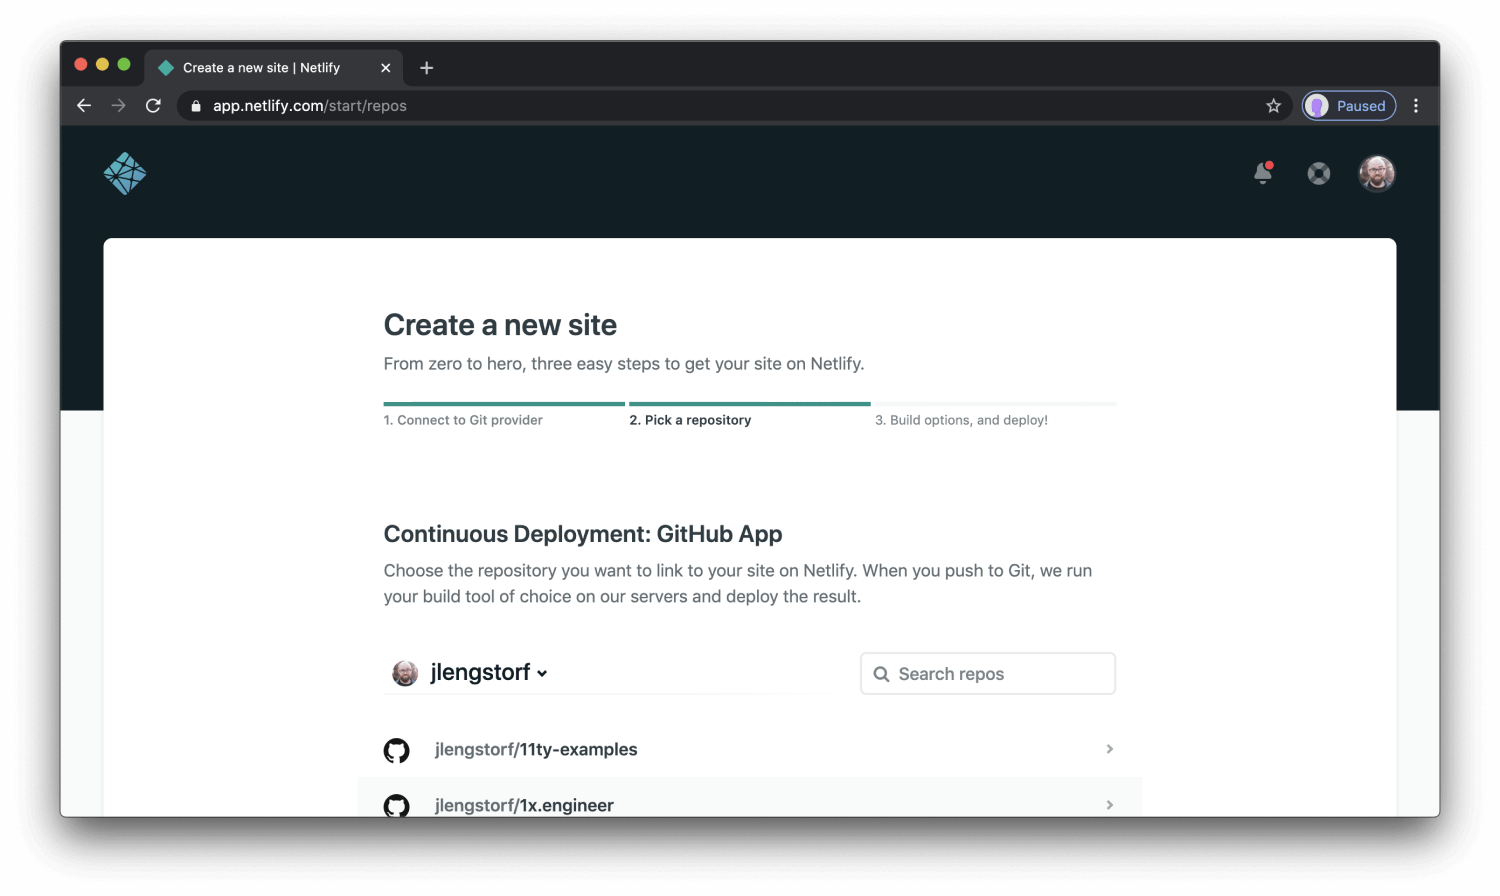
Now here's how to select repository, since you're connected with GitHub, you can see the list of Git repositories to choose, now select the repository you like to deploy from the list.
Configuration and Touch-ups:
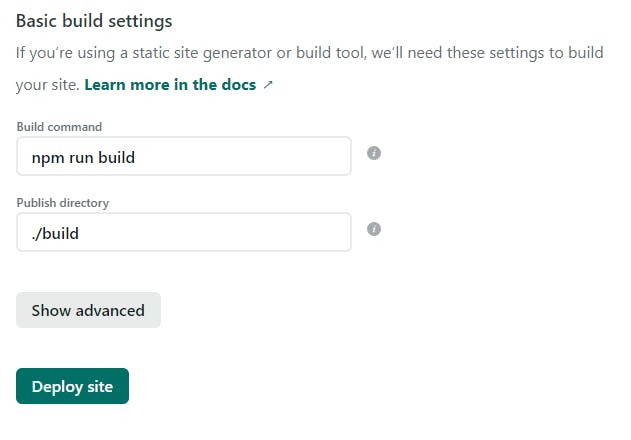
Now you can configure the user options at your convenience on clicking "show advanced" and then click on "Deploy" button. Now you can take a chill-pill and let Netlify take care of the rest. It takes less than a minute to build and deploy your site. whohoo! your site is online.
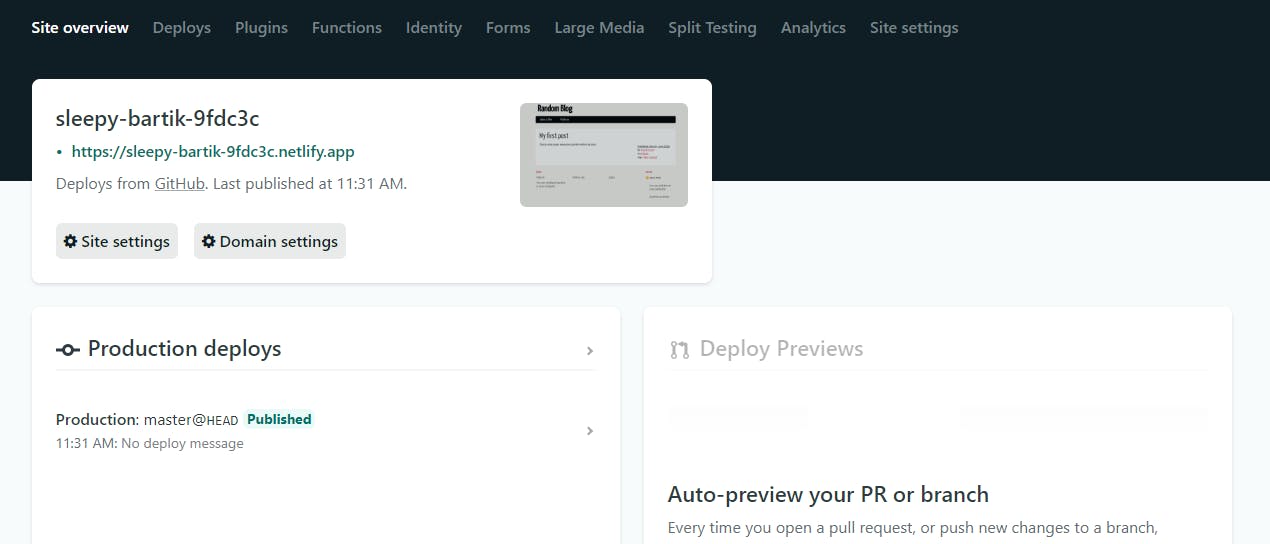
Now go to "Site Overview", you can see the URl of your newly published site. Netlify auto-generates an username and url for your site which you can change by clicking "Change site name". Now you own a Website and a Domain name. How cool is that?!
Hope this blog was helpful. Next blog on "Position Property in CSS" coming soon! stay tuned.